
iOS7に対応したアプリのアイコン作成手順をまとめました。

Xcode 4 完全攻略 posted with カエレバ STUDIO SHIN ソフトバンククリエイティブ 2012-03-29 Amazon楽天市場Yahooショッピング
0.必要なもの
- WindowsまたはOSX(ここではMountain Lion 10.8.4をベースに解説します)
- Photoshop CS3以上
1.準備
テンプレートのダウンロード
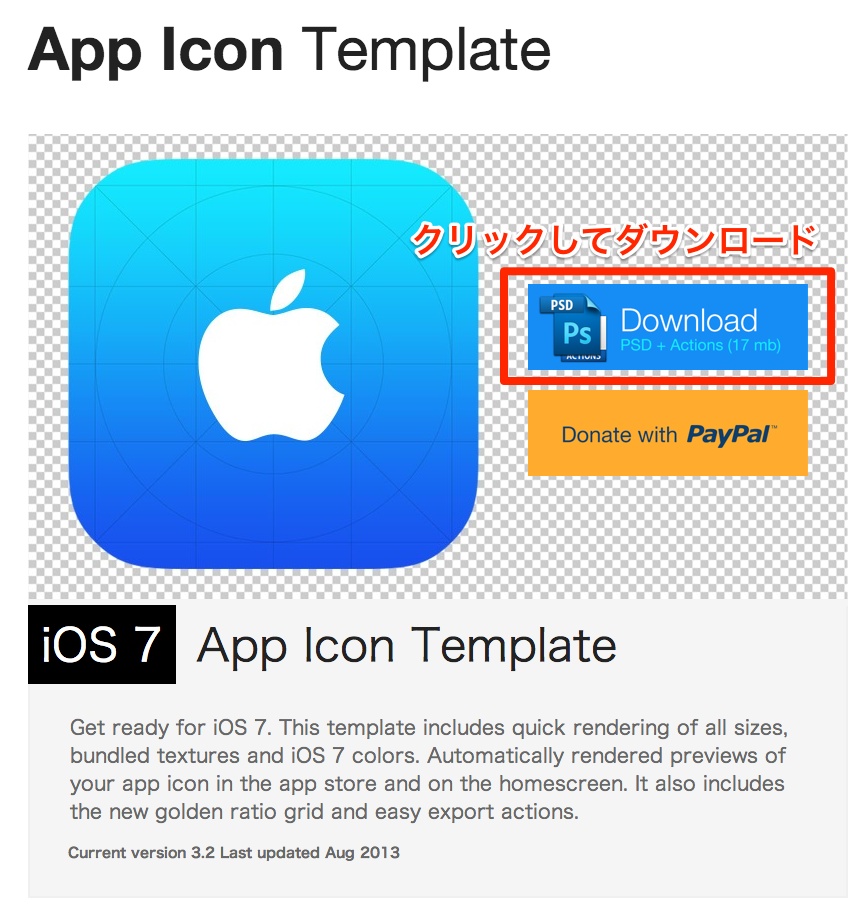
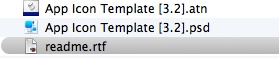
ダウンロードが完了したらファイルを解凍してApp Icon Template [3.2]というフォルダを開きます。
中身は以下のようになっているはずです。
Photoshopの設定
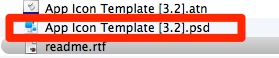
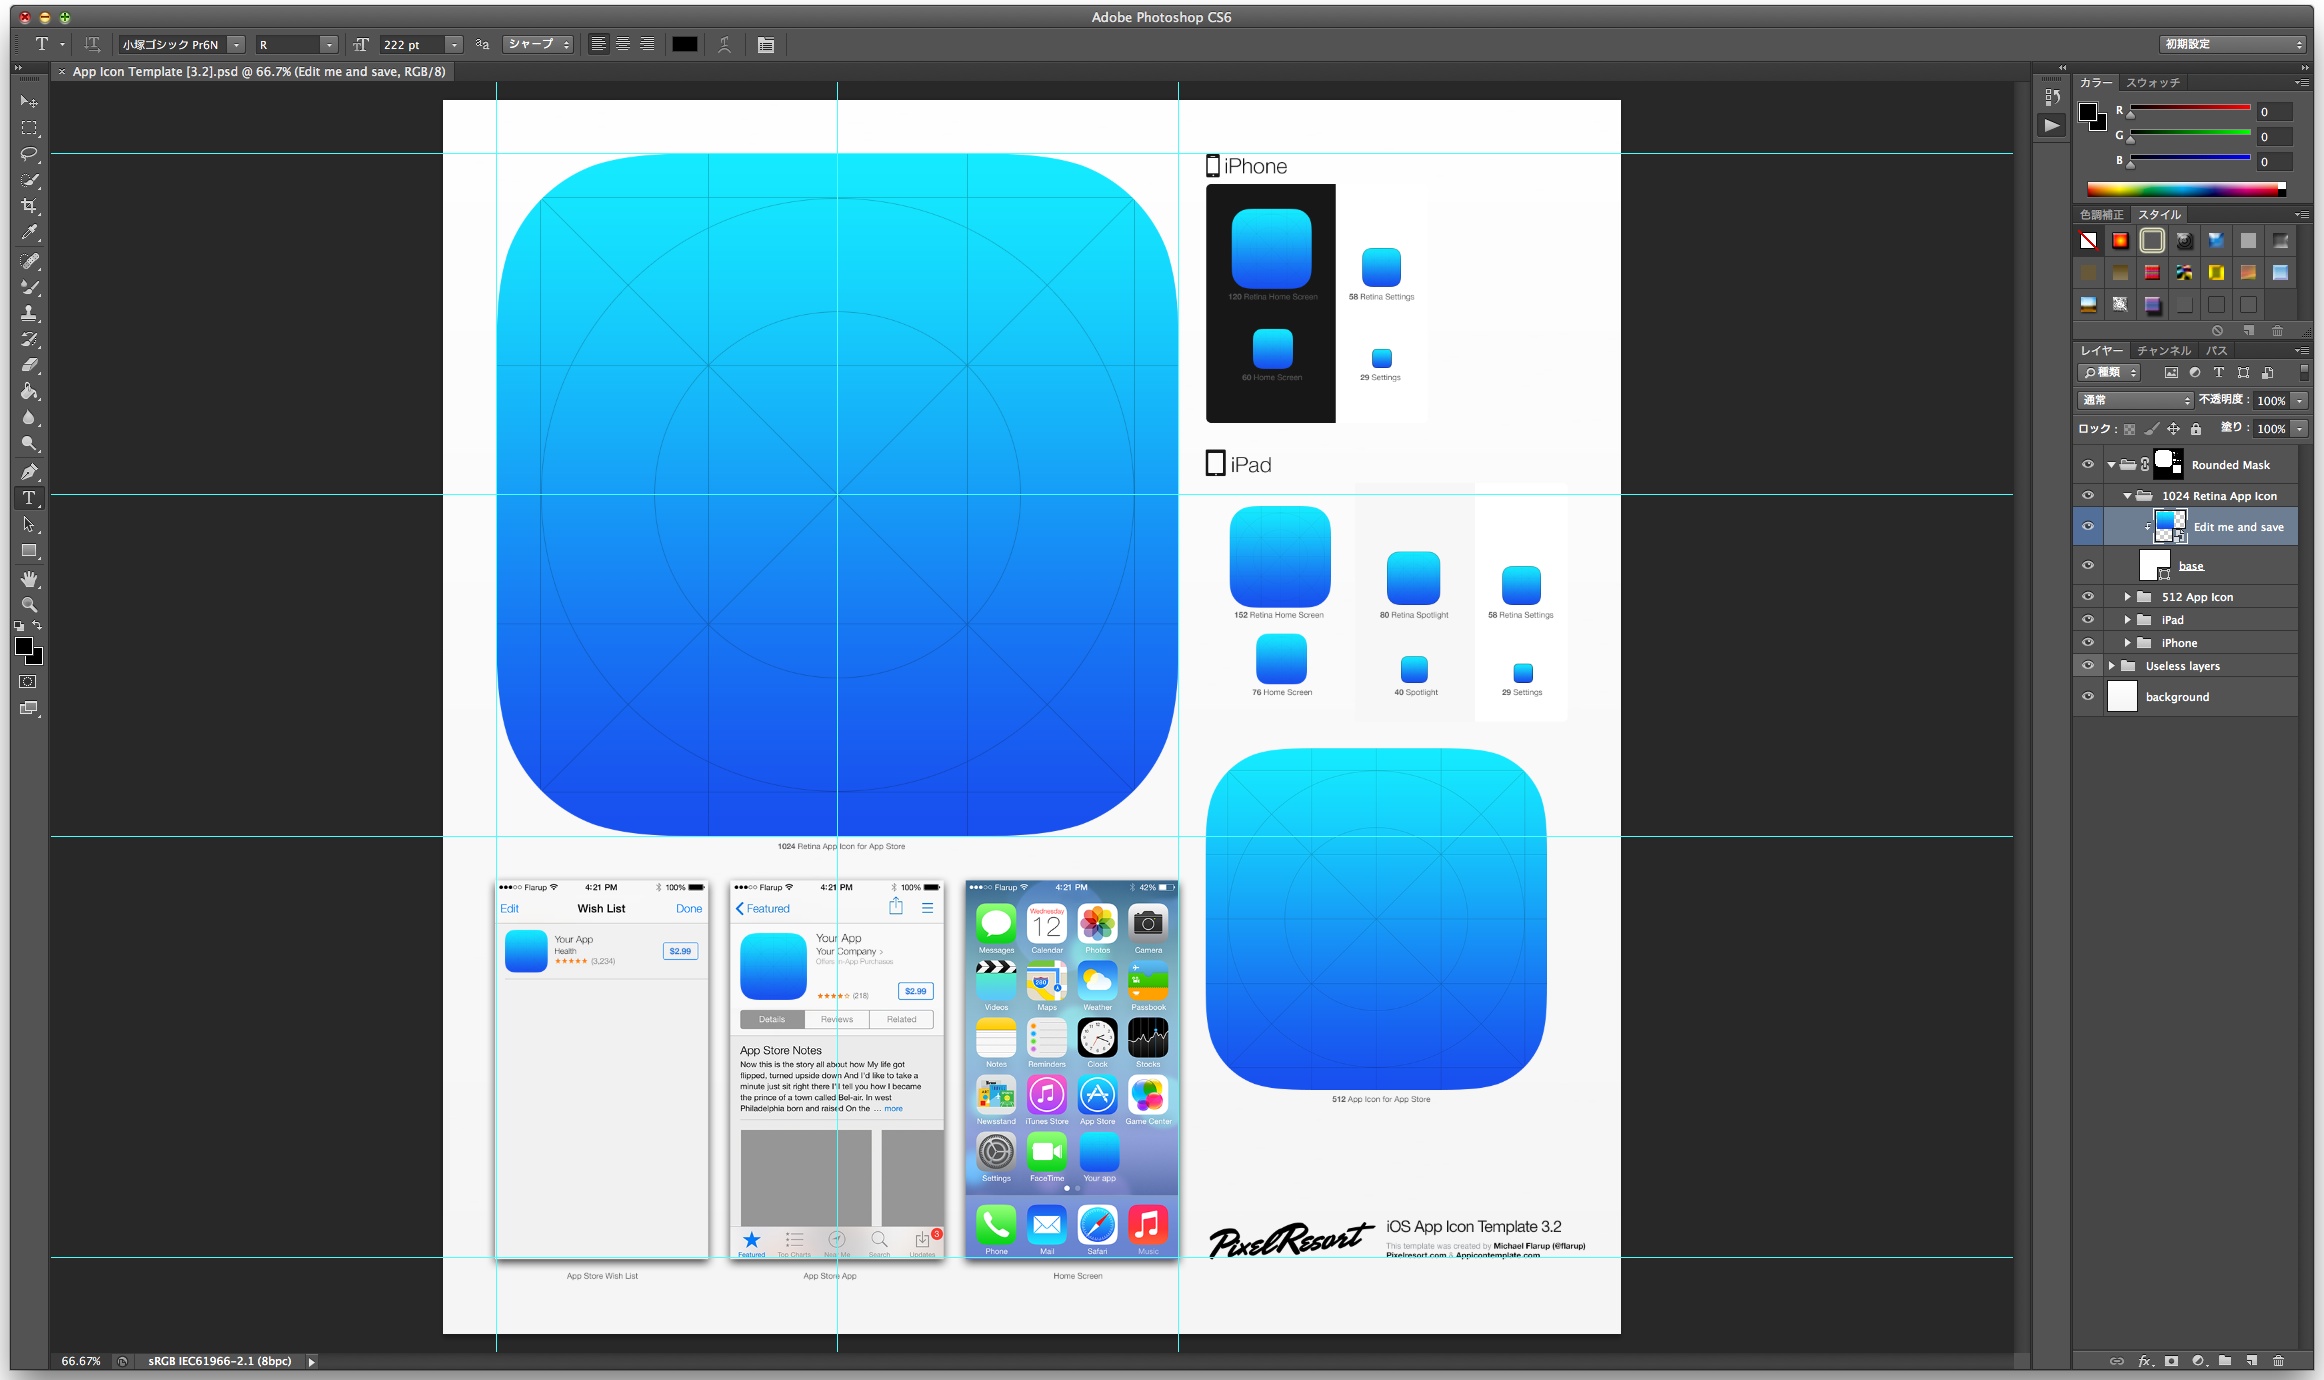
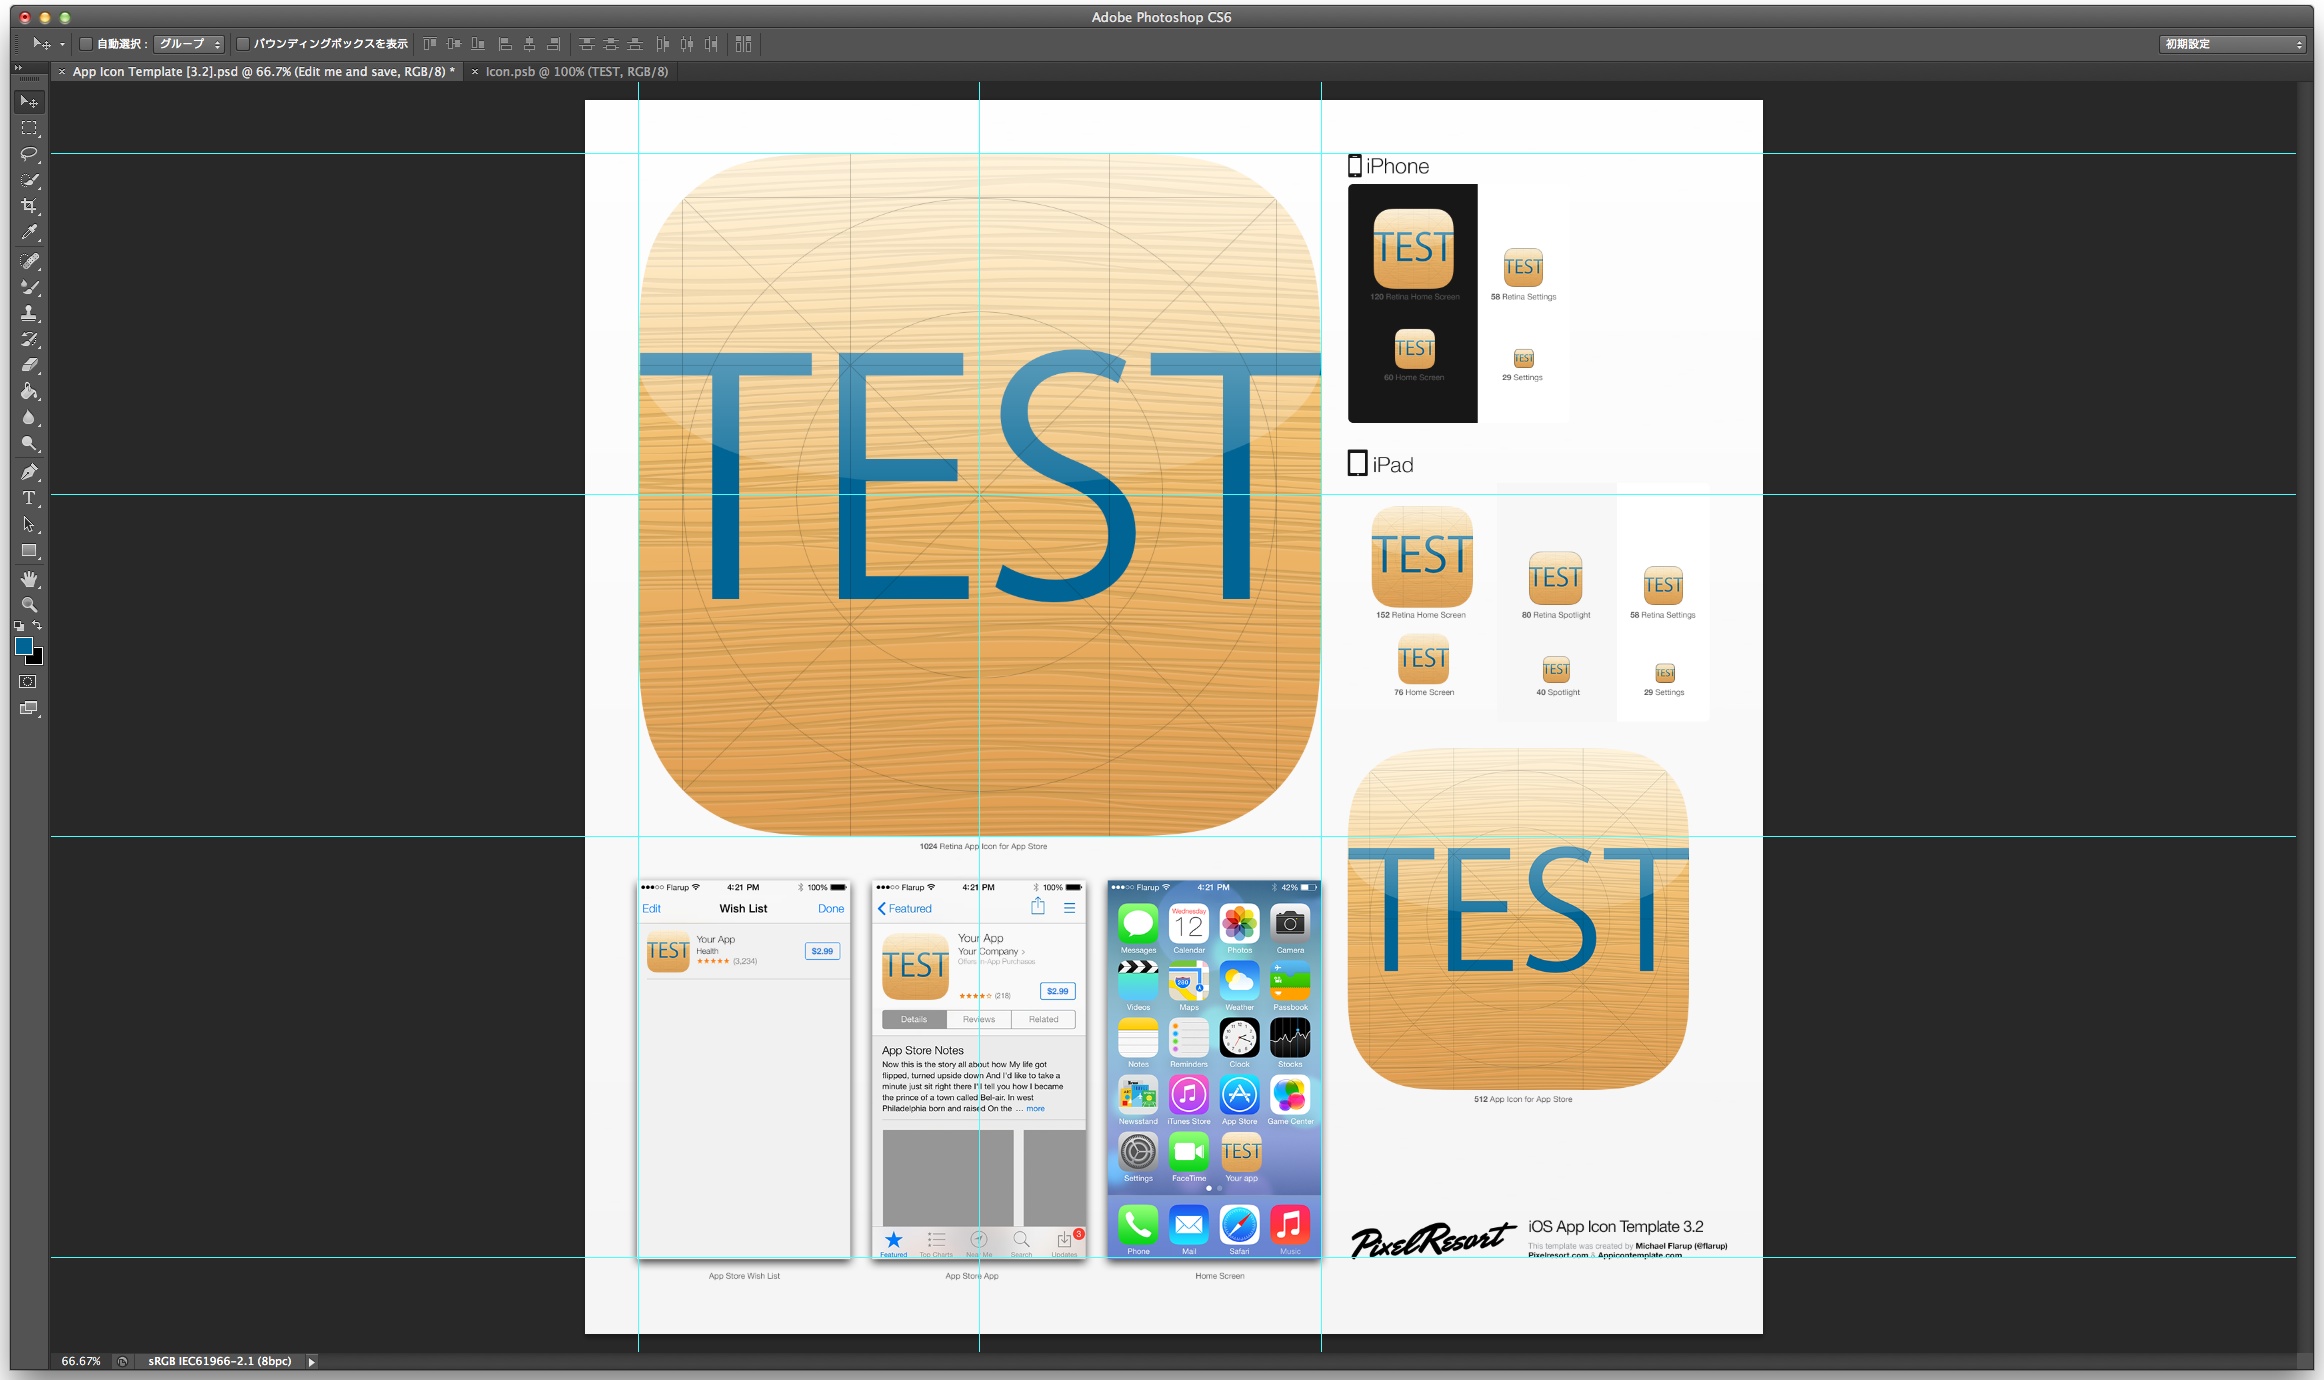
App Icon Template [3.2].psdをクリックしてください。
Photoshopが起動すると、下記のような画面になります。
メニュー>ウィンドウ>アクションを選択して、アクションウィンドウを表示します。
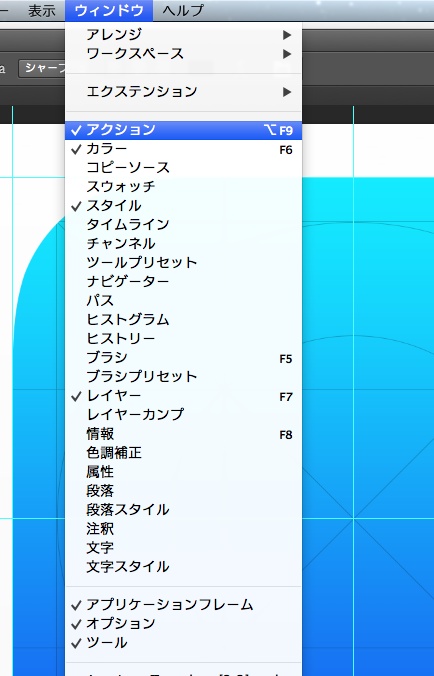
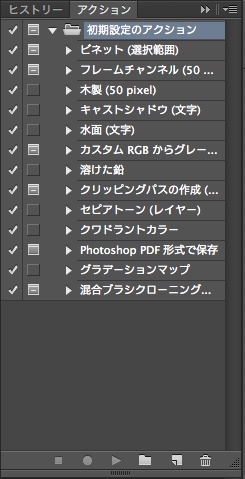
アクションウィンドウの初期状態は下記のようになっています。
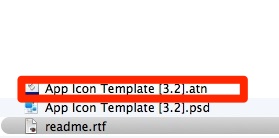
この状態でFinderに戻り、App Icon Template[3.2].atnをクリックしてください。
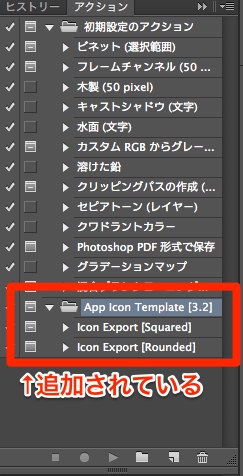
アクションのメニューに「App Icon Template [3.2]」という項目が追加されます。
以上でPhotoshopの準備ができました。
2.アイコンの作成
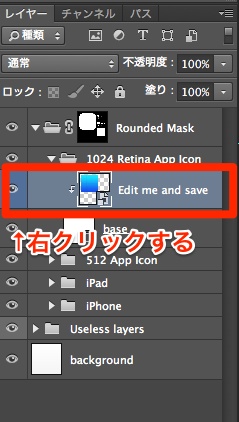
レイヤーウィンドウから「Edit me and save」を探して、右クリックして「コンテンツを編集」を選択してください。
下記のようなダイアログが表示されますが、OKをクリックします。
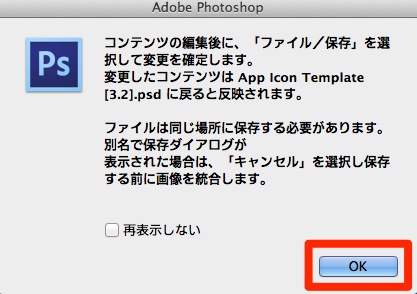
そうするとアイコン編集画面のタブが開きます。
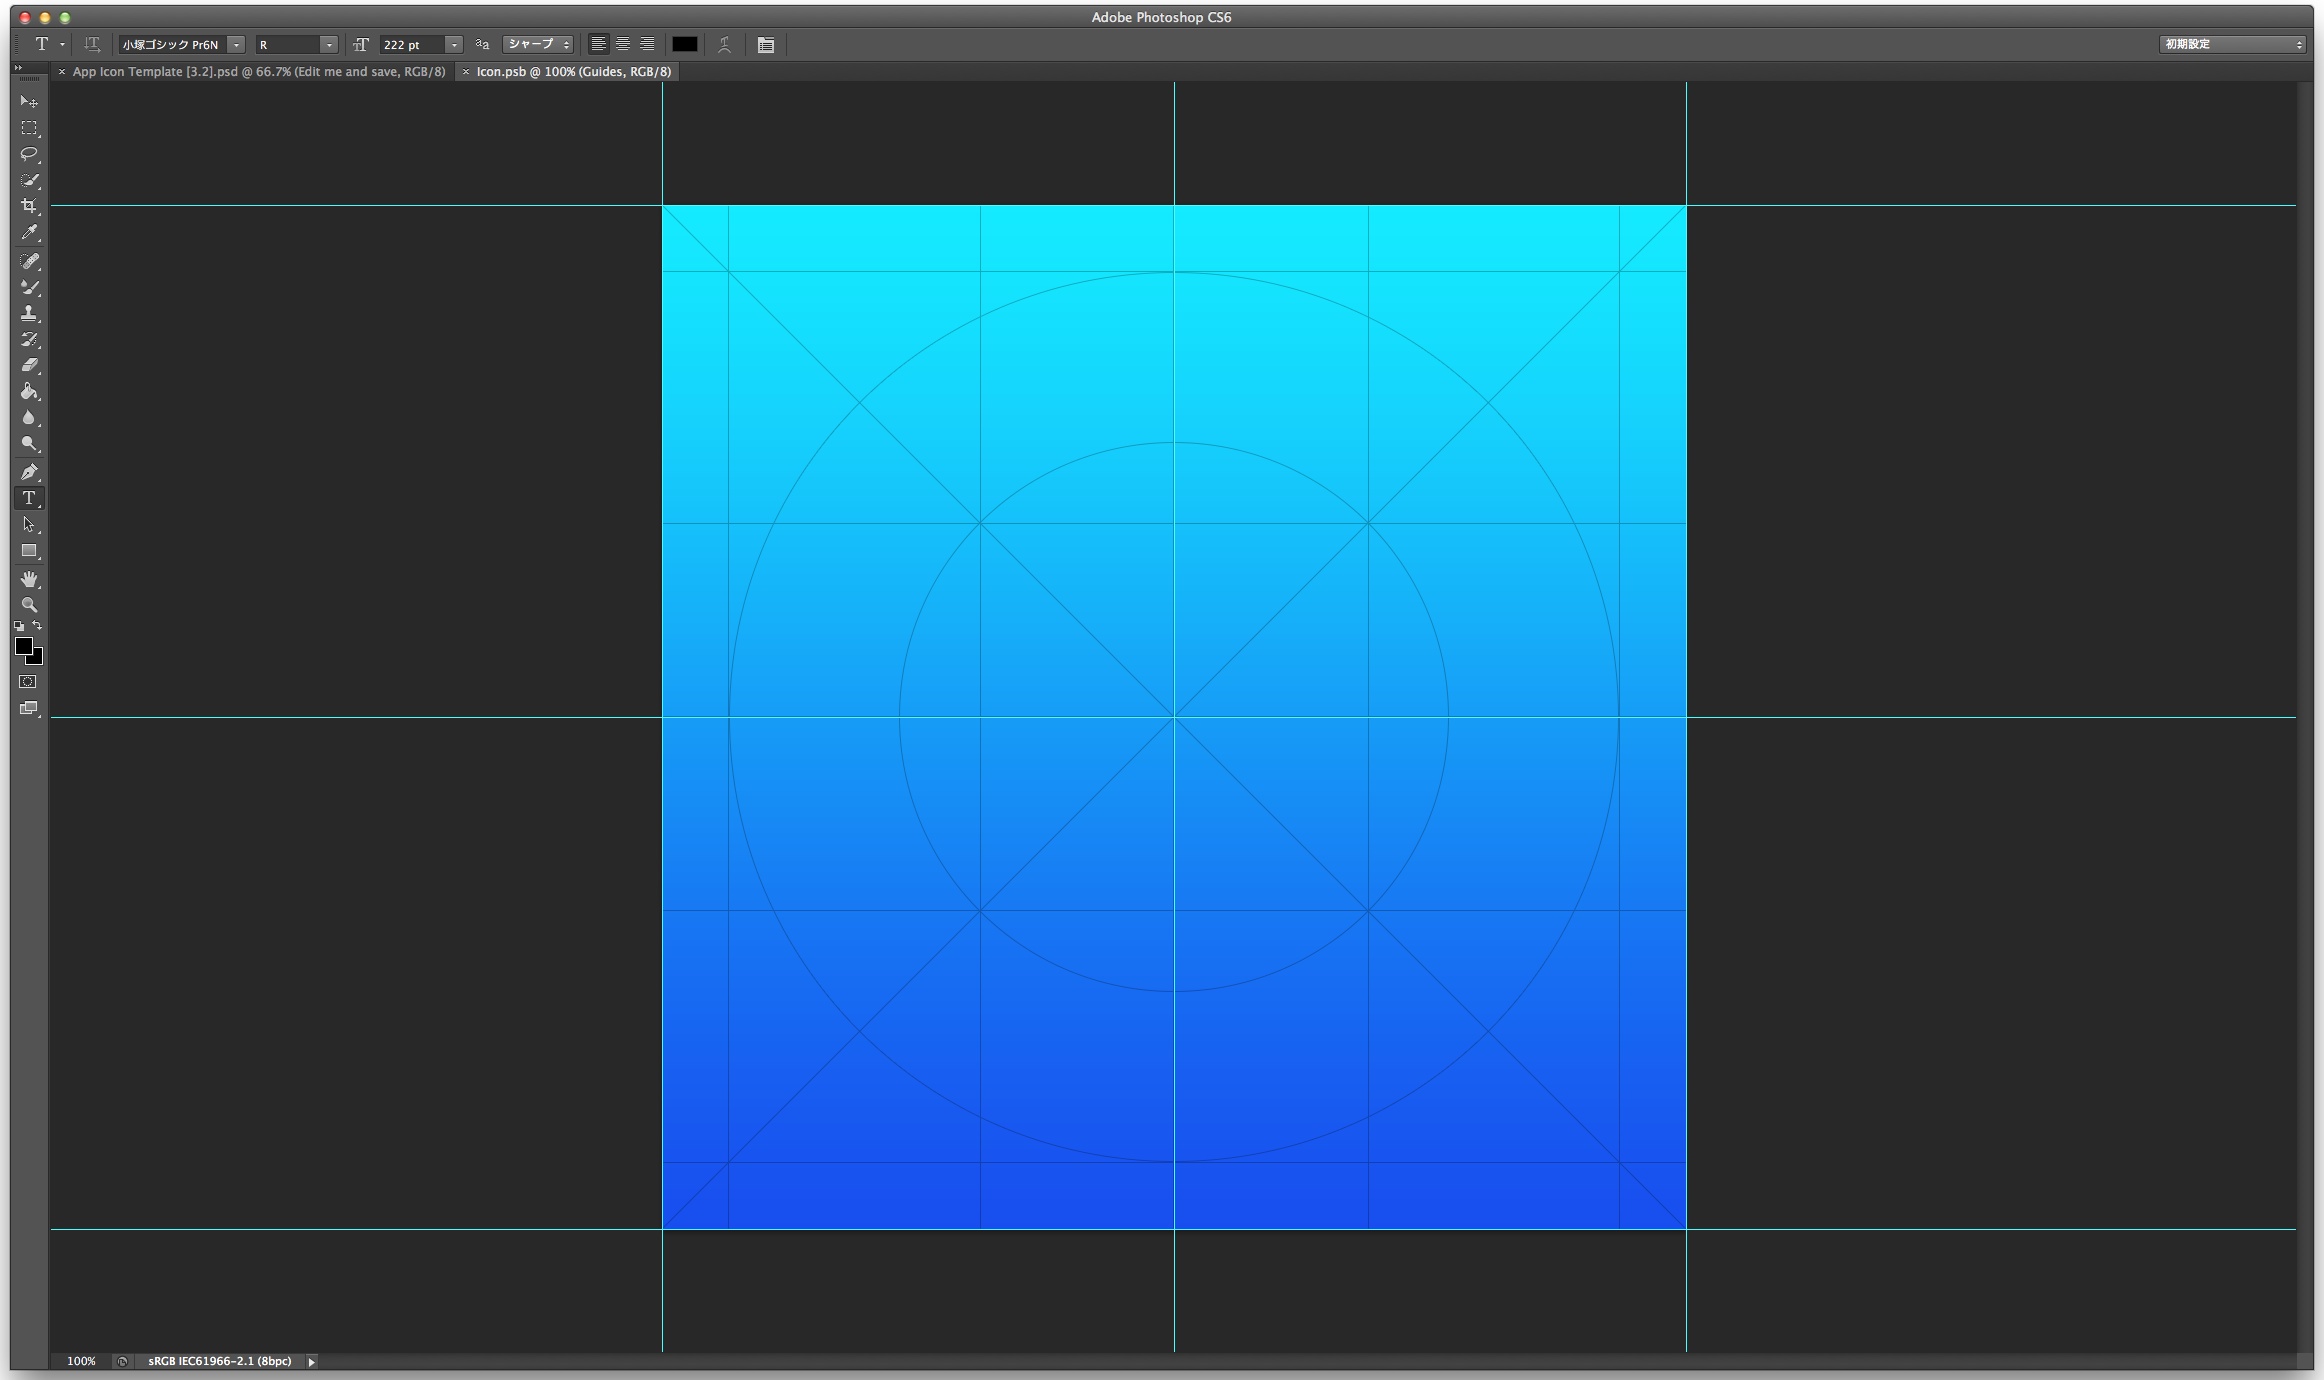
レイヤーを利用するなどしてアイコンを作成してください。
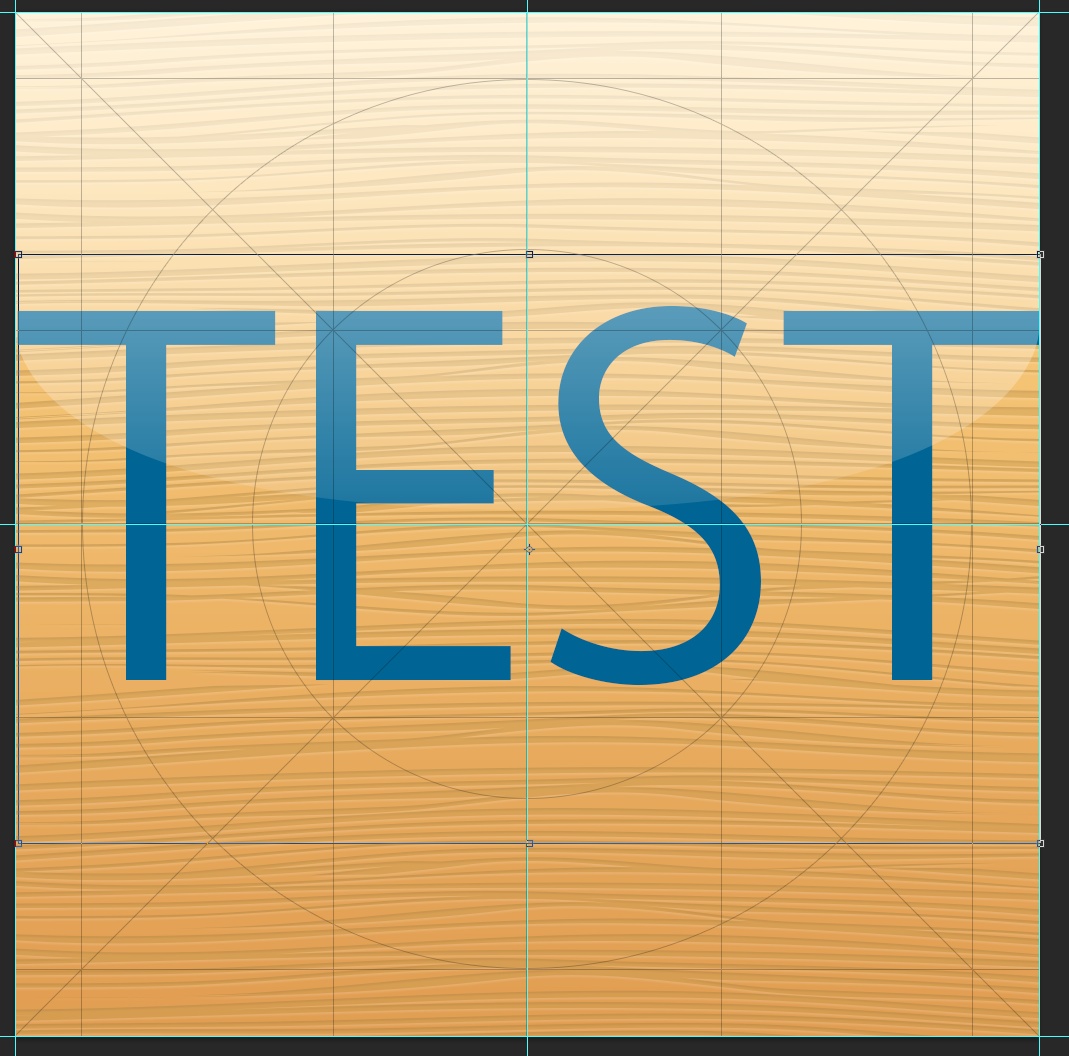
作業が終わったら「保存」して、下記のように「App Icon Template[3.2].psd」のタブに切り替えます。
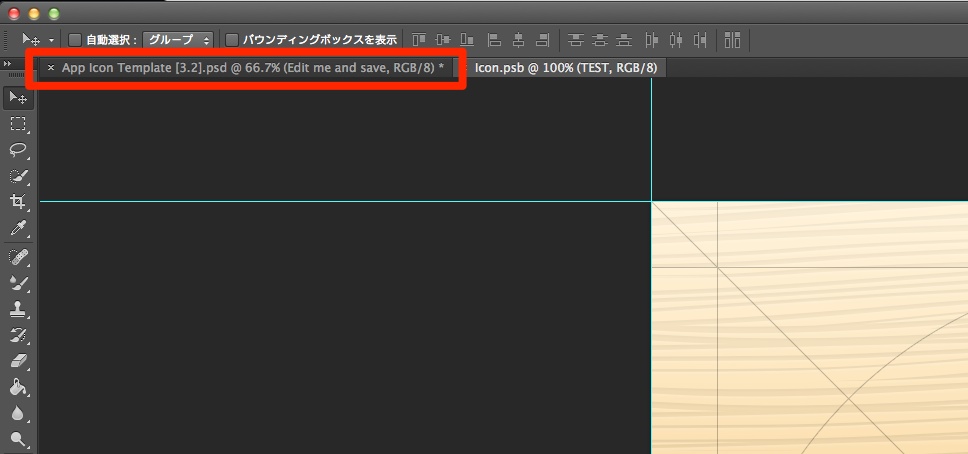
すると、下記のように先ほど作成したアイコンが反映されているはずです。
アイコンの書き出し
作成したアイコンを書き出すには以下のようにします。
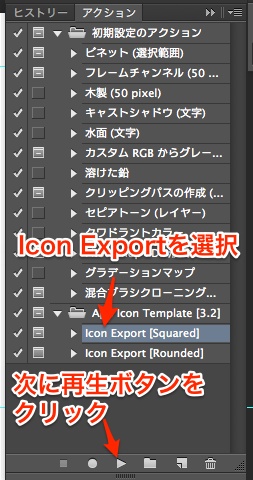
アクションウィンドウから、先ほど追加した「App Icon Template[3.2]」の「Icon Export [squared]」か「Icon Export [Rounded]」を選択して、再生ボタンをクリックします。
Squaredで作成したアイコン

Roundedで作成したアイコン
Xcode 4 完全攻略 posted with カエレバ STUDIO SHIN ソフトバンククリエイティブ 2012-03-29 Amazon楽天市場Yahooショッピング